It’s been an unseasonably cold winter across much of the U.S., with freezing temperatures reaching southern beaches and record-setting snow in places that don’t typically see that much of it.
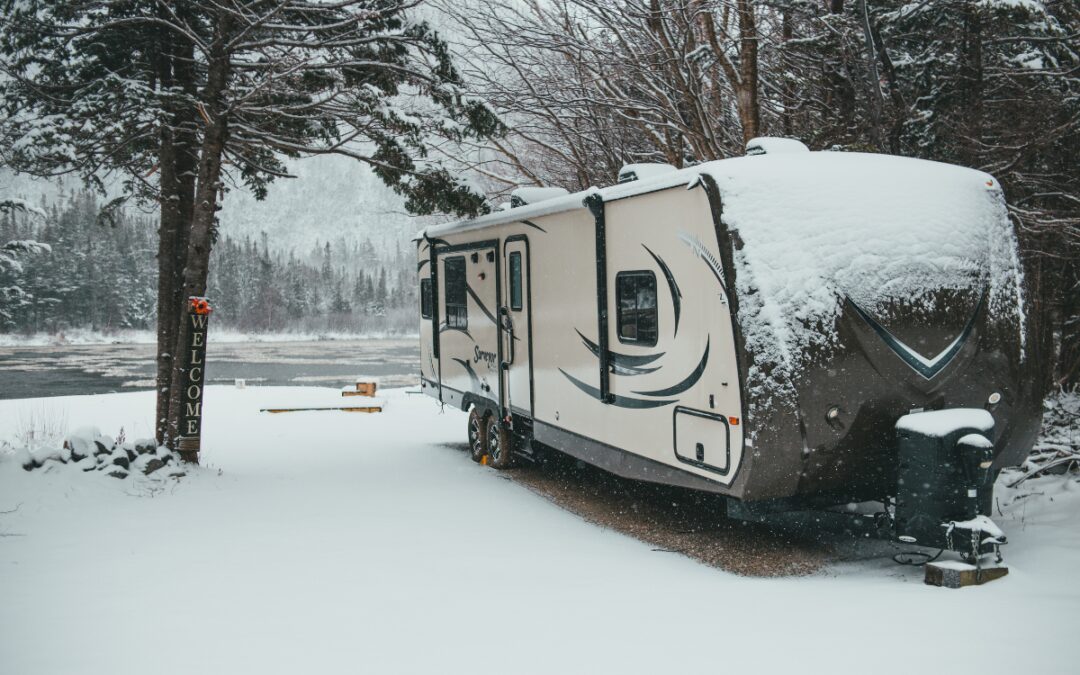
States that don’t normally worry about frost found themselves waking up to icy mornings, and for many RV owners, especially in typically warmer climates like Texas, that meant scrambling to winterize systems they usually wouldn’t think twice about.
Quick decisions. Last-minute antifreeze. YouTube tutorials at midnight.
Now we’re working our way through those “six more weeks of winter” the ever-so-pesky Pennsylvania woodchuck promised (thanks a lot, Phil), and it’s not too early to start asking yourself:
“Okay… how do I safely undo all of that?”
If you winterized unexpectedly, or you’re not entirely sure you did it correctly, here’s how to de-winterize your RV calmly, methodically, and without unnecessary stress.
Step 1: Don’t Rush — Inspect First
Before you turn on the water or flip the switches, slow down.
Start with a thorough visual inspection:
- Check underneath the RV for cracked or dangling lines.
- Look inside cabinets near plumbing for obvious leaks.
- Inspect your water heater compartment.
- Check exterior spigots and shower connections.
If something froze, it may not leak until pressure is restored, which is why this step is vitally important.
Step 2: Reconnect and Flush the Fresh Water System
If you used RV antifreeze:
- Reconnect your fresh water hose (use a drinking-water-safe hose).
- Fill your fresh tank partially or connect to city water.
- Turn on each faucet one at a time, both hot and cold.
- Run water until it flows clear, and the antifreeze is completely flushed.
- Don’t forget the shower (inside and outside, if applicable) and the toilet.
It may take several minutes per line.
Pro Tip: Open the faucet closest to the pump first and work outward.
Step 3: Sanitize the Fresh Water Tank
Even if nothing froze, sanitizing after winterization is a smart reset.
A common method:
- Use ¼ cup of household bleach per 15 gallons of tank capacity.
- Fill the tank with water.
- Run the solution through all faucets.
- Let it sit for 4–12 hours.
- Drain and flush with fresh water.
This ensures your system is safe to drink from again.
If you’re hesitant about using bleach, there are bleach-free tank sanitizing products available on the market. However, when used in a proper ratio, household bleach is a safe and highly effective method for disinfecting your freshwater system.
Step 4: Check the Water Heater
If you bypassed the water heater during winterizing:
- Remove the bypass.
- Ensure the tank is completely full before turning it on.
- Never power on an empty water heater; it can burn out quickly.
Open a hot water faucet and wait until water flows steadily before activating the heater.
Step 5: Inspect Seals and Exterior Components
Cold weather can affect:
- Roof seals
- Slide seals
- Exterior caulking
- Plastic fittings
Take a few extra minutes to look for cracking, separation, or gaps. Preventative resealing now can save you from expensive water damage later.
Step 6: Check Tires and Air Pressure
Just like in your car, cold temperatures reduce tire pressure. Even a brief cold snap can cause PSI to drop.
- Check air pressure before driving.
- Inspect tires for sidewall cracking.
- Confirm tire age via the date code (over five years old is a caution zone).
Blowouts are more common than people expect, especially after long periods of storage.
Step 7: Test Appliances and Systems
Before hitting the road:
- Turn on the propane and test the appliances.
- Check furnace function.
- Run the A/C briefly.
- Test slides and leveling systems.
- Confirm battery charge levels.
A full systems check now prevents unpleasant surprises on the way to your next stop.
What If Something Froze?
If you suspect a frozen line:
- Do not force water pressure.
- Look for cracks once thawed.
- Check fittings near elbows and connections.
- Consider a professional inspection if you’re unsure.
Small cracks can become major leaks once pressure returns.
Prevention for the Next Cold Snap
If you travel through fluctuating climates:
- Carry RV antifreeze on board.
- Insulate exposed lines.
- Use a heated water hose in cold conditions.
- Keep cabinet doors open on freezing nights.
- Run a small space heater safely inside.
- Disconnect exterior water overnight if temperatures drop.
Cold snaps don’t last forever, but the damage they cause can be expensive to repair.
Even seasoned RVers get caught off guard when temperatures dip unexpectedly. The key isn’t avoiding every cold night, it’s knowing how to respond calmly and thoroughly.
Your RV is built for travel. With a little preparation and a little patience, it’ll be ready to roll again.
Whether you’re navigating a Texas freeze or traveling through unpredictable weather elsewhere, knowing how to properly de-winterize your RV gives you confidence for the road ahead.
And when you’re ready for warmer days and smoother travels, Rest Your Shells with Us. We’ll be here, ready to welcome you.